
Blackrock Depths (BRD) Instance Guide (Classic - WoTLK)
Blackrock Depths is the largest 5man instance in the game. Blackrock Depths, more commonly known as BRD has over 20 bosses. The whole instance is rarely done, usually groups go up to a certain boss then break up or only kill a few bosses while making their way to the end boss. In order to progress a certain part in BRD you will need the Shadowforge Key.
In order to get the Shadowforge Key you will need to die and accept the quest "Dark Iron Legacy" from the dead dwarf in Blackrock Mountain. BRD is best known for the Bar, located inside. In the bar a band plays at 8pm, every day and there is a vendor which makes it easy to farm this instance.
When running Blackrock Depths generally the first boss you will come across is Lord Roccor.

Click to enlarge the map.
Lord Roccor

Lord Roccor is a very easy tank and spank fight. He will use Earth Shock, Flame Shock and Ground Tremor which will stun nearby enemies. Lord Roccor is the only mob in the game that drops the Formula to make Heart of the Mountain.
Loot Table:
![]() Formula: Smoking Heart of the Mountain
Formula: Smoking Heart of the Mountain
The 3 bosses after Lord Roccor are rarely ever killed, but I'll list them regardless. Next boss in line is High Interrogator Gerstahn.
High Interrogator Gerstahn
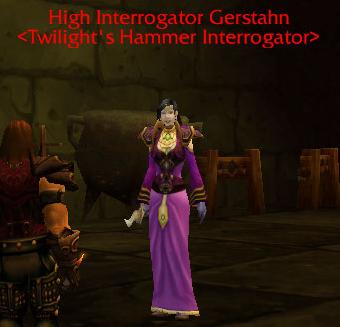
High Interrogator Gerstahn is a Priest. Meaning she will use Mana Burn, Fear and Shadow Word: Pain against your group. When you first engage her she will have an add, take the add out first then focus your attention onto her.
Loot Table:
After you kill High Interrogator Gerstahn the next boss you would come across is Houndmaster Grebmar.
Houndmaster Grebmar

Houndmaster Grebmar comes with two dog adds, which should be quickly killed. Also make sure you clear the room he is in, before pulling him. If any dogs are left up on the side you pull him from, they will come too. The Houndmaster himself is a very simple tank and spank.
Loot Table:
After Houndmaster Grebmar you'll be killing Bael'Gar. Bael'Gar is probably the least popular boss in BRD. Bael'Gar is hardly ever killed, a lot of people probably don't even know he is there.
Bael'Gar

Bael'Gar is a fairly easy tank and spank fight. The only special move he can do is at 50% he will do an AoE Fire Nova and summon 4 adds. The adds are all fairly weak and can quickly be killed. Make sure your tank quickly picks them up so they don't wreak havoc on the healer or anyone else in the group.
Loot Table:
After Bael'Gar you'll be doing the Ring of Law Event. The Ring of Law event has 6 different bosses that it can spawn. All of the bosses are very easy to kill, below is a list of each boss and their drops. Each of the bosses from the Ring of Law, aside from Grizzle, have a chance to drop a piece of the "Savage Gladiator" set.
Loot (Gorosh the Dervish):
Loot (Grizzle):
Loot (Eviscerator):
Loot (Ok'thor the Breaker):
Loot (Anub'shiah):
Loot (Hedrum the Creeper):
After you complete the Ring of Law the next boss your group will encounter is Pyromancer Loregrain.
Pyromancer Loregrain
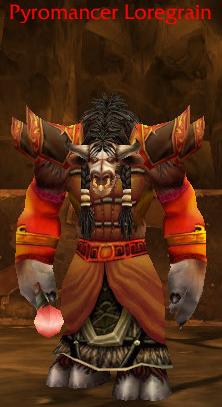
Pyromancer Loregrain is a Shaman that uses strictly fire moves. He will use Scorching Totem, Fire Blast and Flame Shock on you and your group. He also comes with two adds that should be crowd controlled or killed quickly. Pyromancer Loregrain is best known for being the only mob in the game that drops the Formula: Enchant Weapon - Fiery Weapon.
Loot Table:
![]() Formula: Enchant Weapon - Fiery Weapon
Formula: Enchant Weapon - Fiery Weapon
The next boss on the list is General Angerforge. Right before General Angerforge you will be fighting packs of dwarfs and fire elementals. You will notice that the fire elementals put out about 3x the normal damage of any of the other mobs in this place. They hit so hard that even sometimes a poorly geared level 80 will be shocked by how much he is getting hit for. For this reason you should focus on killing the fire elementals first or crowd controlling them with whatever is available to you.
General Angerforge
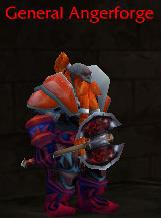
General Angerforge himself is a simple tank and spank. He comes with 5 non elite adds with almost no health. He will also summon more adds when you get him to 30% health. The adds will enter the room from the stairs that you did, so make sure your healer isn't standing around there or he will get run over.
Loot Table:
After you dispose of General Angerforge the next boss you'll run into is Golem Lord Argelmach. Be sure to clear the whole room before engaging Golem Lord Argelmach because he will run around and pick up any remaining packs of mobs.
Golem Lord Argelmach
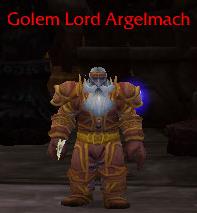
Golem Lord Argelmach is a rather tough encounter. He comes with two elite Golem Guards that should be your initial focus. After that you can focus your attention on Argelmach. As said before Argelmach will run around the room and agro anything you didn't clear, so be sure to clear everything! Argelmach will use lightning related abilities on you and your group such as Chain Lightning and Shock.
Loot Table:
After you kill Golem Lord Argelmach the next area you will come across will be the BRD Bar. The two bosses you'll run into in the bar are Plugger Spazzring and Phalanx.
Plugger Spazzring
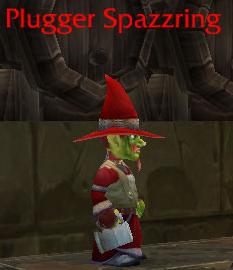
Plugger Spazzring is the only vendor in all of BRD and will be friendly to you at first. In order to fight him you will need to steal food and Beer until you piss him off enough so that he attacks. Be careful when fighting Plugger Spazzring he will pull any other nearby dwarves to help him. Plugger himself is a very simple tank and spank fight, He is a Warlock so he will use Warlock related spells but it's nothing to worry about.
Loot Table:
![]() Schematic: Goblin Jumper Cables XL
Schematic: Goblin Jumper Cables XL
After you kill Plugger Spazzring Phalanx will run to the door and defend it. If you decide to kill Plugger then you will be unable to advance in the instance unless you're able to pick the doors lock or pick pocket Plugger for the key. In order to open the door you will need to give Private Rocknot Dark Iron Ale Mugs until he smashes a keg which will bust open the door.
Phalanx

Phalanx is a basic tank and spank. The most important thing to keep in mind is make sure everyone backs into the corner to his right, so when he does his knockback ability it doesn't shoot anyone into the crowd.
Loot Table:
The next boss after Phalanx will be Lord Incendius. Some groups may skip Lord Incendius and the other 3 bosses and will head over to Ambassador Flamelash. If your group is doing this, just scroll down to the other bosses.
Lord Incendius
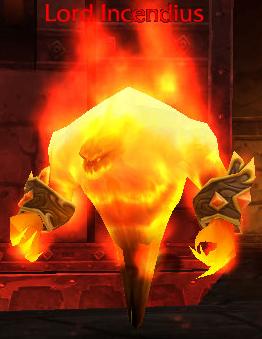
Lord Incendius is the boss smack dab in the center of BRD. He uses all fire moves, obviously but the only thing you have to worry about is his knockback. If you're not standing in a good place when he uses his knockback than you will most surely end up in the lava. So be sure to pull him back off the platform or position yourself so when you get smacked you'll fly somewhere safe.
Loot Table:
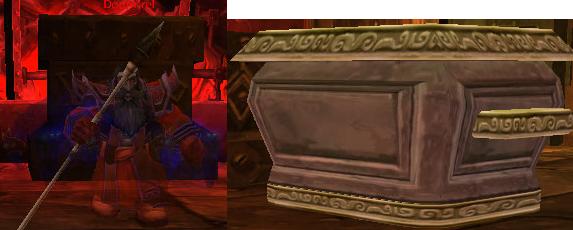
After Lord Incendius you'll run into Fineous Darkvire. Fineous Darkvire drops Ironfel which is used in the "Dark Iron Legacy" quest to get the Shadowforge Key.
Fineous Darkvire

Fineous Darkvire is a very simple tank and spank fight. He doesn't hit very hard but he has a TON of HP. If you happen to pull Fineous and you get any adds be sure to take care of them first.
Loot Table:
After Fineous Darkvire the next boss you'll come across is Warden Stilgiss and his pet dog, Verek who are located in the BRD Vault.
Warder Stilgiss & Verek
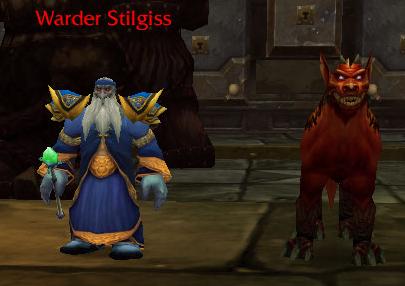
Warder Stilgiss is a Frost Mage, that will use all Frost spells against you and your group. He also has a pet dog, Verek which should be killed first. Make sure you kill all of the mobs in this room before attacking Stilgiss or you will find yourself quickly overwhelmed. Warder Stilgiss is also guarding The Vault area.
Loot Table:
After you kill Warder Stilgiss be sure to read the poster to figure out where the Dark Keeper is for the Vault event. You will need Relic Coffer Keys and the Dark Keeper Key to open up all of the vaults and get your phat lootz. Below is a list of all of the Dark Keepers and where you can find them.
Dark Keeper Bethek: Spawns inside the vault room as soon as you open the portrait.
Dark Keeper Ofgut: Makes up one of the groups in General Angerforge's room
Dark Keeper Pelver: Located in the Domicile near Pyromancer Loregrain
Dark Keeper Uggel: Near where you kill Fineous Darkvire.
Dark Keeper Vorfalk: The Bar
Dark Keeper Zimrel: On the outer ring of the arena, where the spectator's are.
The Dark Keeper's wont spawn until you examine the portrait. So you will need to come here first then go find the Dark Keeper. After the Vault is the last stretch of the instance. The next boss you'll come across will be Ambassador Flamelash.
Ambassador Flamelash

Ambassador Flamelash is a pretty easy encounter. During the fight he will call small fire elementals from the 4 platforms around him to come and attack your party. They can be fear bombed, frost nova'd and controlled in anyway. They also have almost no HP so a few arcane explosions would take them out quickly. That's the only special thing this boss does!
Loot Table:
After Ambassador Flamelash you have The Seven which is a seven boss event.
The Seven (event)
All of the bosses of The Seven event are very easy. Each one of the has low HP and not many special moves that they can even harm you with. The final one of them is Doom'rel, who is also the one you need to talk to in order to start the event. After you finish off all the bosses in The Seven event the door leading to the king will open and a chest will spawn containing all of the loot for the event.
Loot Table:
![]() Legplates of the Eternal Guardian
Legplates of the Eternal Guardian
After you do The Seven event you will have to do the AoE tunnels. In the AoE tunnels you will need to kill two Flame Keepers and ignite the flames to open the door to Magmus. The mobs in here spawn very quickly so it's important that you move quickly. After you ignite both flames the boss you're going to come up to is Magmus.
Magmus
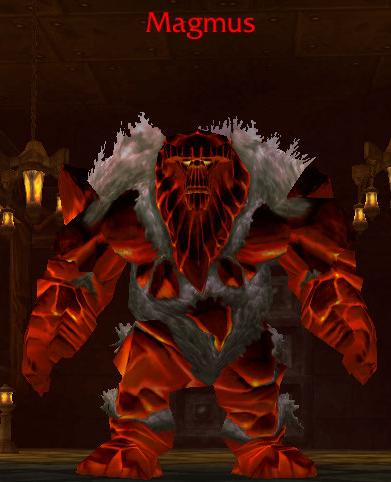
Magmus is the guardian of Emperor Thaurissan. He stands in the large hallway leading to Emperor Thaurissan. When you engage Magmus he will turn on the golems in the walls, which will shoot flames at you. They go off at different times so they are easy to dodge. Aside from the dangers of the hall way Magmus is a fairly easy fight.
Loot Table:
After Magmus is the final bosses, Princess Moira Bronzebeard and Emperor Thaurissan. Be sure to clear the whole room before engaging these two. If you don't they will call the whole room to come help them.
Emperor Thaurissan & Princess Moira Bronzebeard
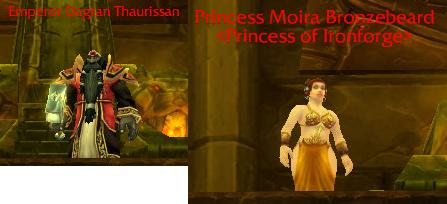
Princess Moira Bronzebeard is a Priest and Emperor Thaurissan is a Warrior. Here you'll want to make sure you take out Princess Moira Bronzebeard first since she can heal. After she is down focus your attention on Emperor Dagran Thaurissan.
Loot (Emperor Dagran Thaurissan):
Loot (Princess Moira Bronzebeard):