
Survival Mode Bunker Blueprints - Valheim
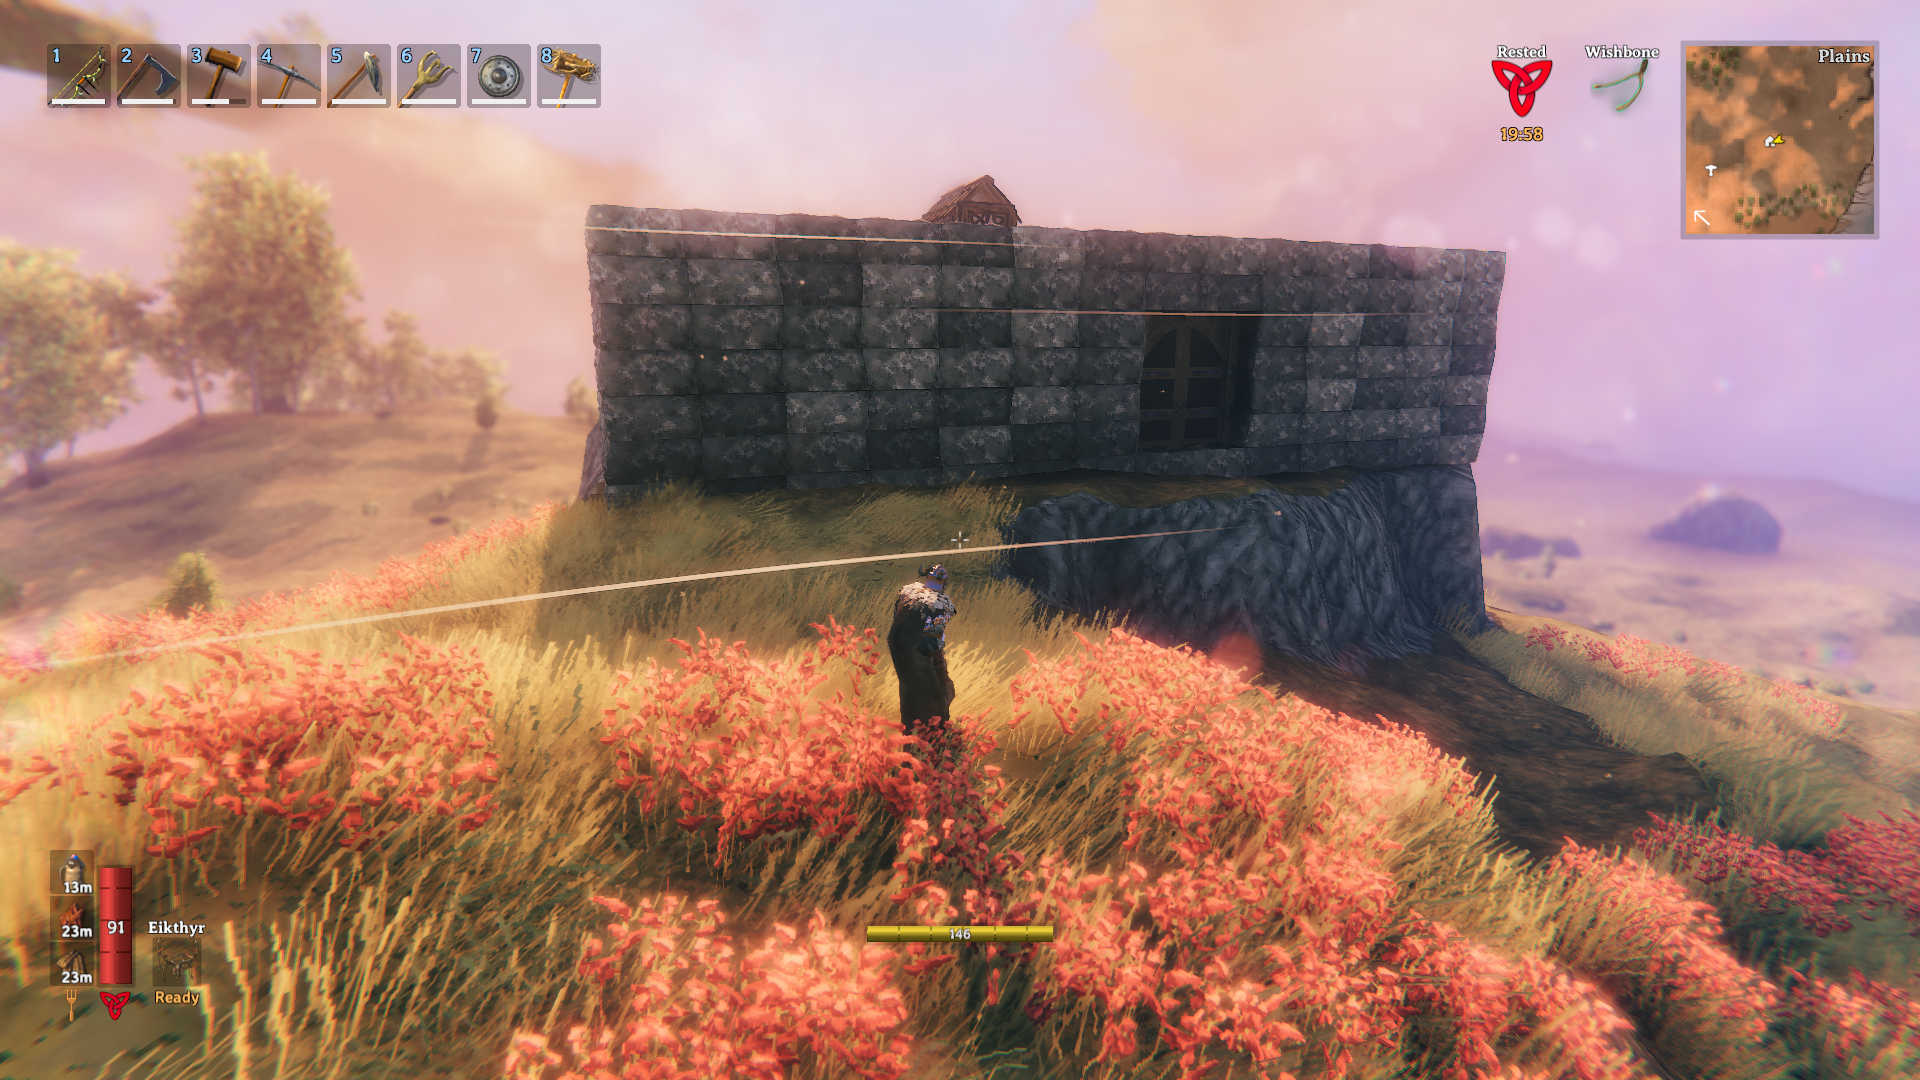
Dimensions: 10 x 10 Stone floor tiles (w/ an outer wall of a single Stone floor 2x2 tile)
Height: 7 Stone wall 2x1 tiles
On this page you'll find blueprints which give you details on how to make what I like to call a "survival bunker" in Valheim. This building is designed for Survival Mode and has a thick outer wall to protect you from pesky invasions or enemies on the outside. I also use the 2x1 stone tiles instead of the larger ones that way when enemies do attack your bunker they have to deal a lot more damage to your structure before they start breaking walls.
Another tip when playing on Survival Mode is to raise the ground you plan to build on before you start building. Raising the ground that your building is on makes it much more difficult for any enemies to deal damage to it since most won't even be able to reach it. While the survival bunker does look pretty ugly, you can make your survival bunker look nice by decorating the outside with wood but at the end of the day this building is designed for practicality over vanity.
The size you choose for your survival bunker can vary but the largest I recommend you build it is 10 x 10 Stone tiles -- (this measurement does not include the outer wall). Use my blueprint screenshots below to get a good idea of what I mean as far as the measurements go. The reason you don't want to build it any bigger than 10 x 10 is because you'll have to use Reinforced Iron to hold up the roof if you go any bigger. If you choose to make the bunker 10 x 10 you'll also need something in the center to hold up the ceiling; I like to use a fireplace for this purpose.
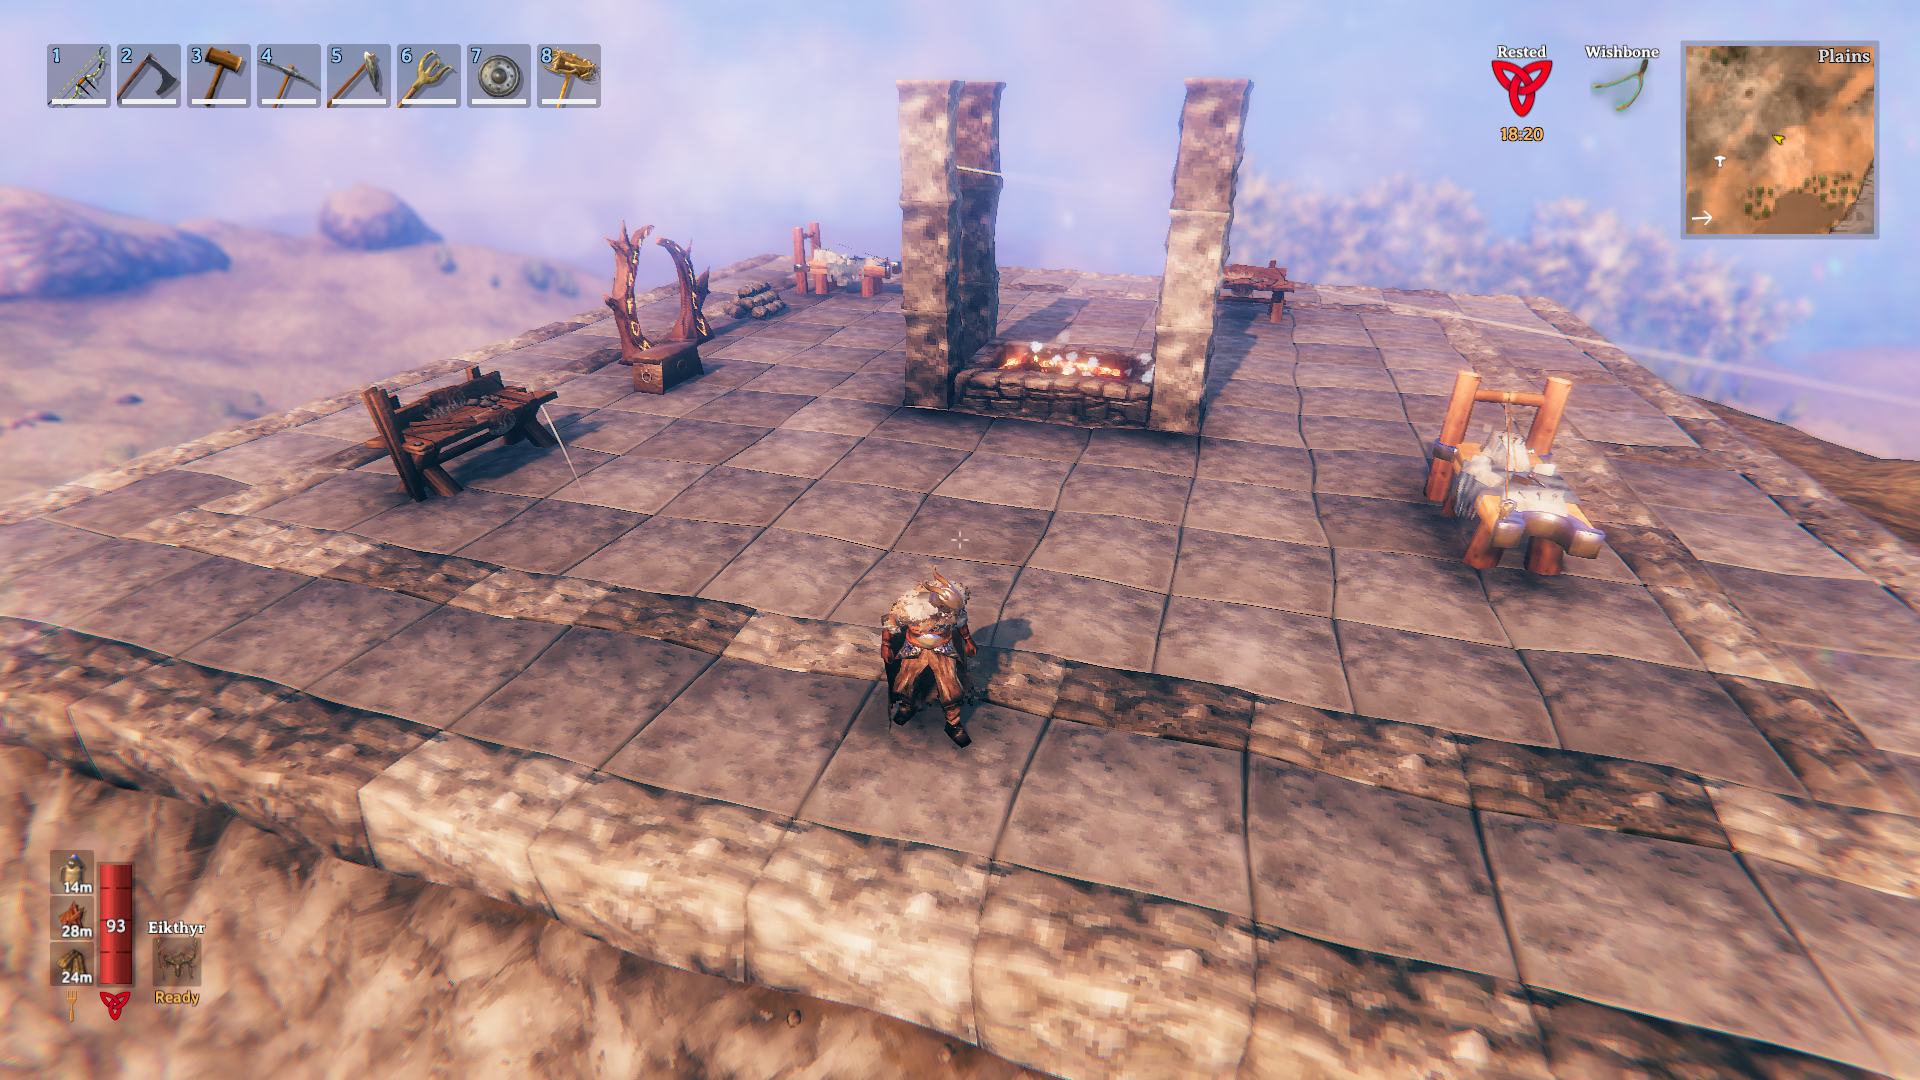

Click to enlarge either of these images.
After you've laid down the entire foundation like you see in my screenshots above it's time to build up the walls and the ceiling. I recommend you stack 7 Stone wall 2x1 tiles ontop of each other then place Stone archs around the entire inside of the bunker, as shown in my screenshot below and in my videos. You don't need to place Stone archs in the small hallway surrounding the bunker that makes up your outer wall, only on the inside of the bunker.
I'd also recommend you place Stone arch and Stone wall 2x1 pieces around your fireplace as well. This will help hold up your ceiling if you've made a large bunker. Smaller bunkers like an 8 x 8 or 6 x 6 one will probably not need support in the center of the ceiling so much. I purposefully built a 10 x 10 bunker to show you how to properly support the largest design.
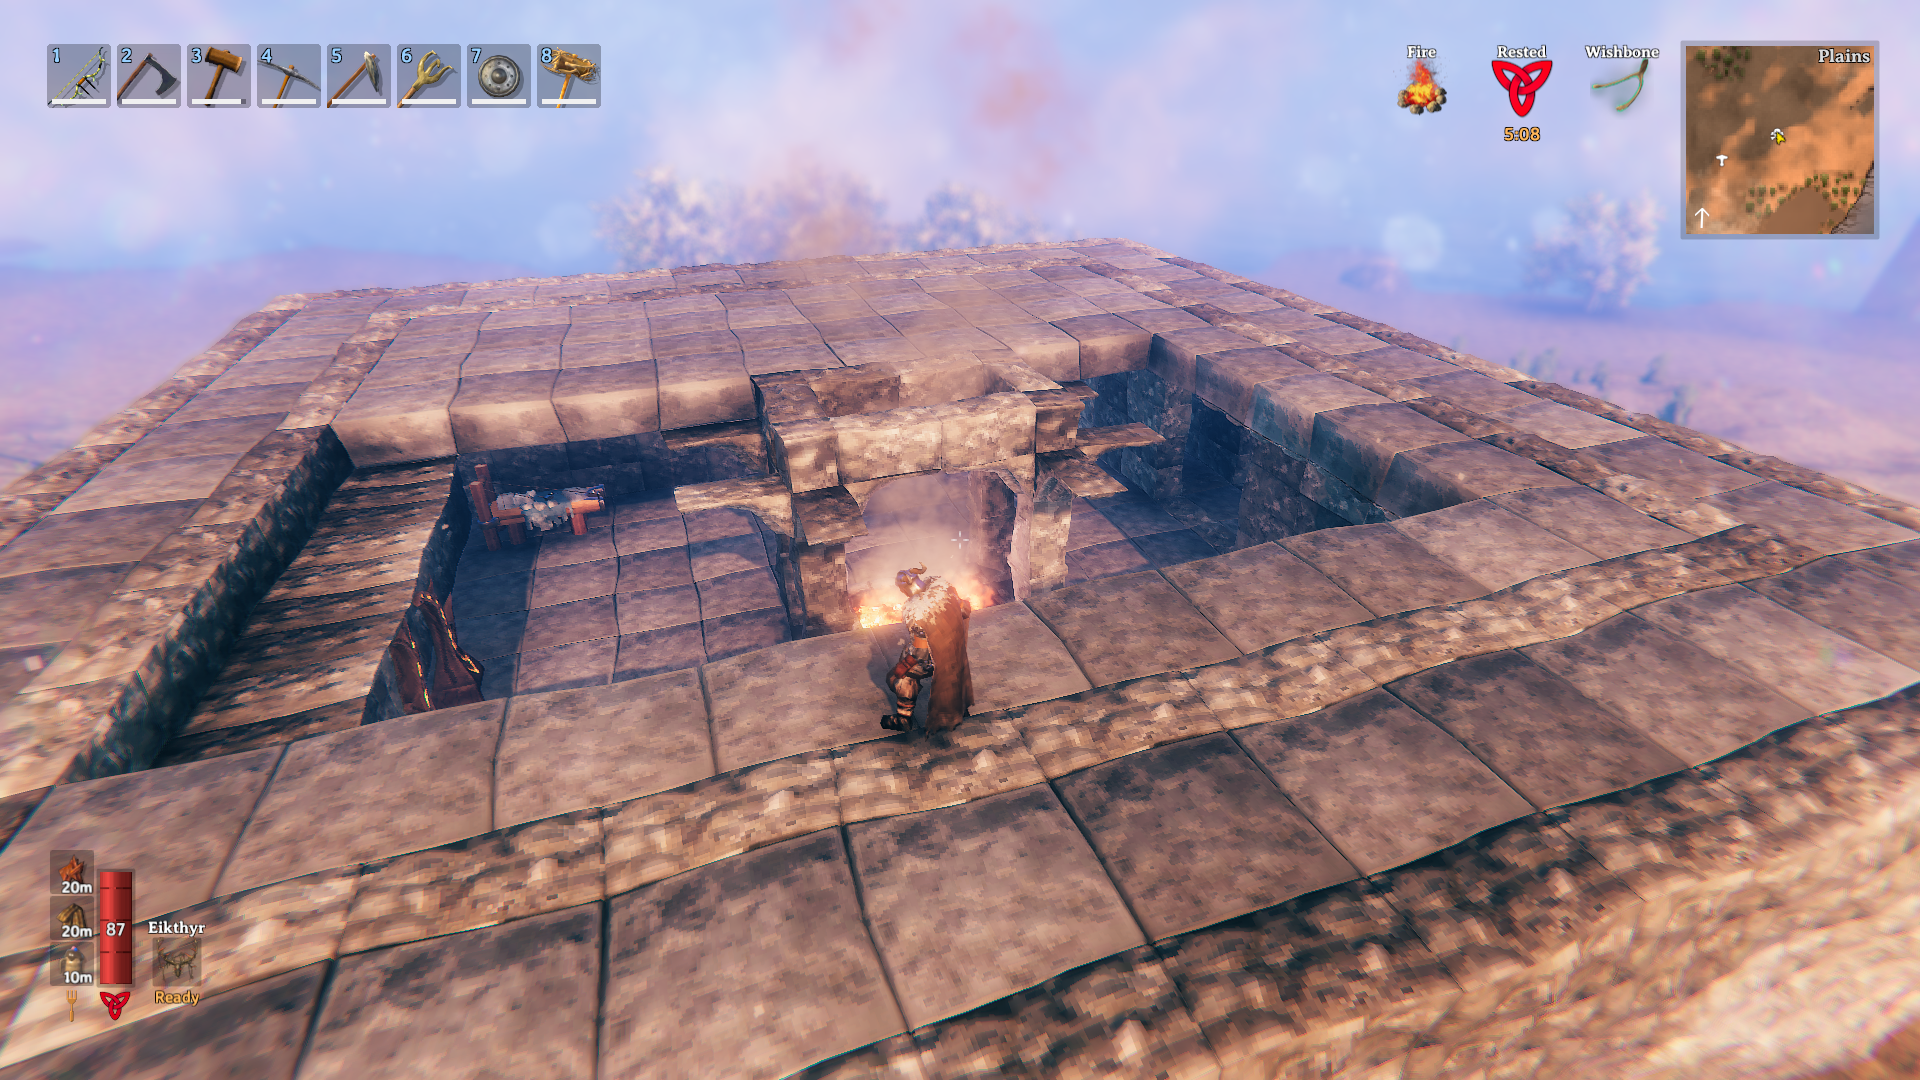
Stone archs to hold up the roof around the fireplace.
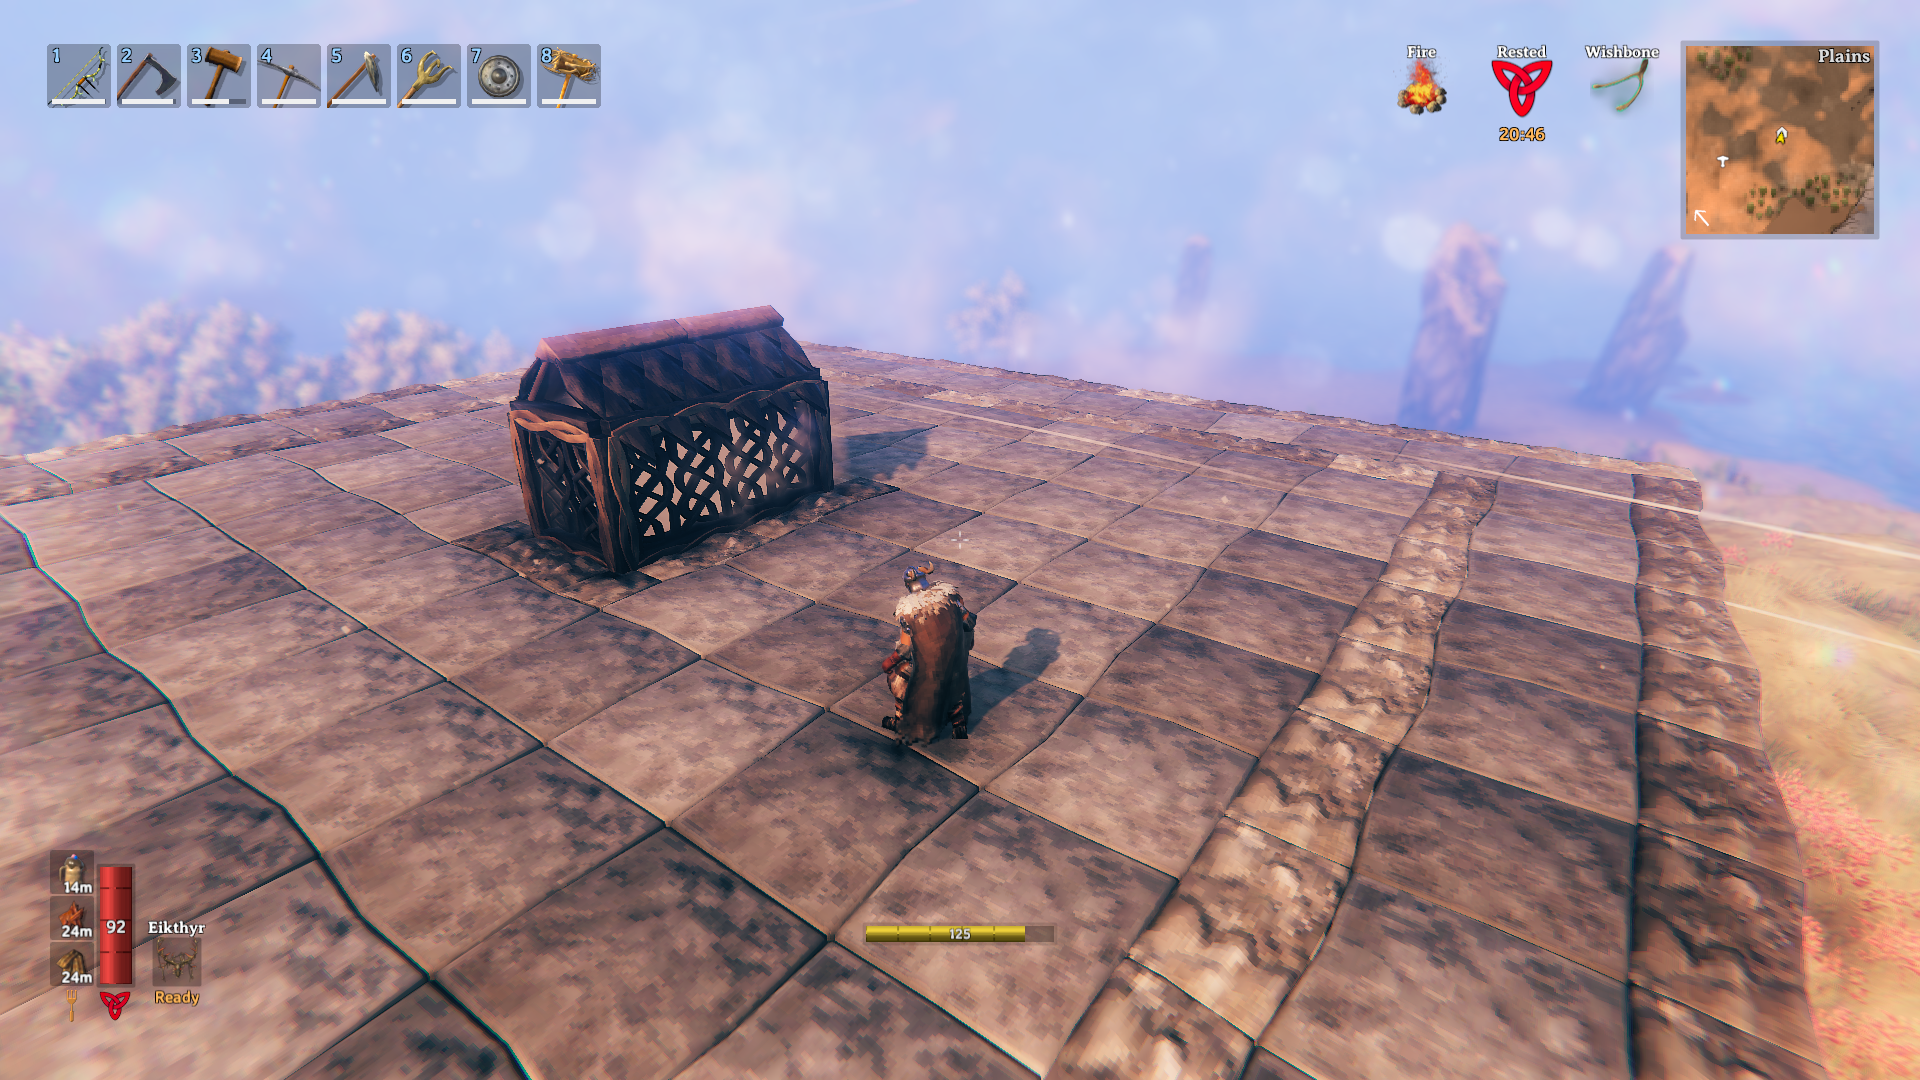
Once you're done lying all of the Stone floor tiles across the roof it'll look like the screenshot below. I personally like doing a Stone floor tile roof because it helps against any Drakes that might attack you from the sky. Even outside of the Mountain biome drakes can attack you during base raids, although that can be quite rare. For this reason if you want to do a wood roof it's up to you, I always do stone as I like the look more and it's more practical in the later biomes in my opinion.
The last thing you need to add to your survival bunker is a small roof overtop the fireplace you made this way when it rains our fire doesn't go out.
That's really all there is to building the survival bunker. There are a few changes you can make to yours if you'd like such as adding stairs in the back hallway to help you get onto the roof. You can make the stairs out of either wood or stone - the choice is completely up to you.