Athiss Flashpoint Guide
Athiss is a level 20 Flashpoint and is an easy instance even for a pretty crappy group. When you enter the Flashpoint you will land in an outside area with a large elevator in the middle leading down into an excavation site. Down is where you'll want to go, your route of going down will change depending on what you have available to you. I was able to Slice the control panel to get down below, if you don't have a Slicer in the group though you can fall down the second hole onto the first ledge, heal up then fall to the second ledge, heal up and then to the floor.
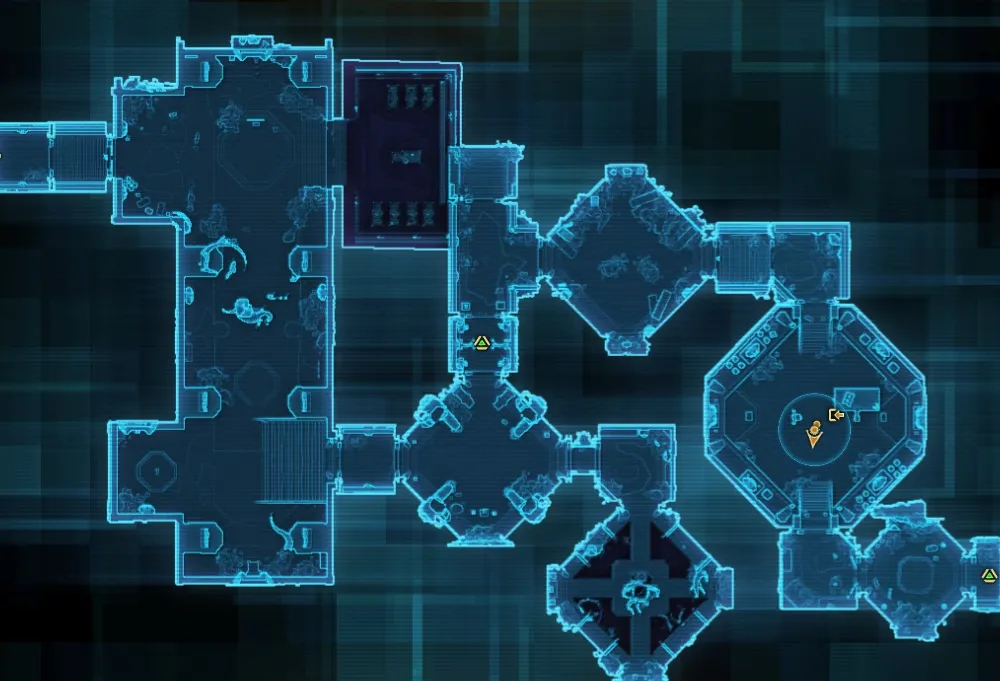
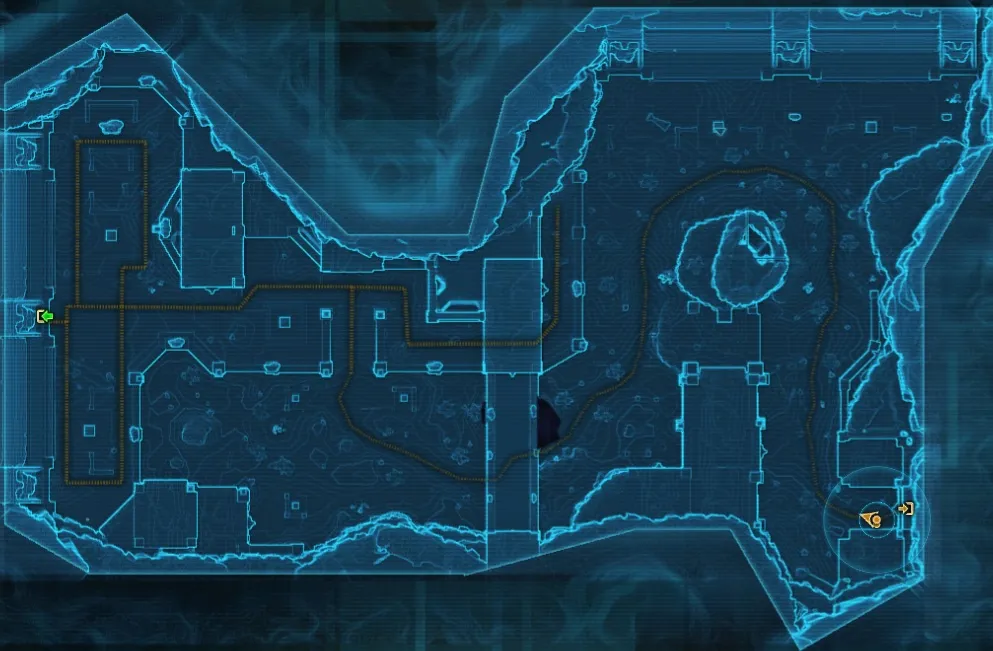
Below is a map of the first area you will be coming out to in Athiss.
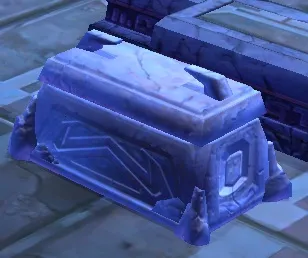
The first objective you want to retrieve is the Pack of Explosives far to the east. They are guarded by a few animals which shouldn't pose a single threat to you or your group. The room is poorly lit so just closely look at the floor if you're having difficulty finding the explosives. Below is a picture of my character standing next to them.
Once you have the explosives backtrack a bit to where you fell down into the excavation site and start clearing your way west towards the next green objective on your map. You'll have to fight a few packs of mobs on your way here but nothing that difficult at all. If you have Bioanalysis you'll actually be able to gather up the mobs that con at least "strong" (A.K.A they have a gray star next to their names). At the mission objective you will want to plant your bombs on the door and proceed through once they blow it open.
All of the trash mobs on your way to the first boss are extremely easy to kill, there are just a lot of them to kill. From my experience here there is no reason for any CC. After destroying the door the next objective you have will be to kill the very first boss of the instance, Professor Ley'arsha.
Professor Ley'arsha
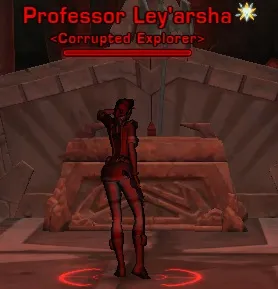
The boss herself is easy and is really nothing more than a simple tank and spank type of boss. However, throughout the fight she summons multiple adds to assist her and will continue to summon more and more adds as the fight goes on. The good thing about the adds is that they can be taken out with really weak CC from anyone, it doesn't matter. I do recommend taking the adds out each time they come out, though because if you do not you will get overwhelmed and that's never a good thing.
As with a lot of the fights most of the pressure will be on the tank to keep all of the adds on him or on the healer if the tank can't do his job the healer is going to be healing everyone that has agro. After you kill Professor Ley'arsha grab your loot from her and then head over to the Research Console to the west, (It's the new mission objective, you can't miss it).
Click on the Research Console to disable the beacon, you will be given a option once you enter the console and your choice will give you either light or dark side points. Choose whichever you prefer. After messing with the console you will want to continue west into the Ruins of Kressh. This is a fairly straight forward place but there is one thing of interest here which I will touch up on in a minute.
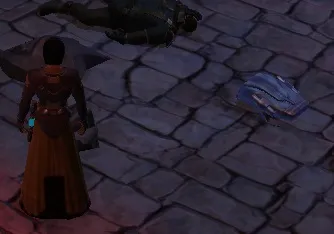
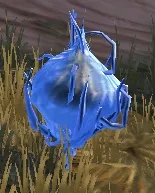
As aforementioned this whole area is pretty straight forward. You'll be killing pack after pack of mobs without much interesting stuff going on inbetween. I, however did find something quite interesting but it requires someone in the group to have Bioanalysis of at least 75. There are plants all around the area called Snarlroots, the look like little beehives growing out of the ground, you can't miss them, especially since they are on your minimap and highlighted blue... Below is a picture of one.
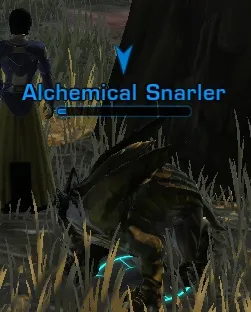
When you loot the Snarlroot it will place an item in your Mission Inventory called Unique Pheromones. Using this item will allow you to summon a small little pet companion called an Alchemical Snarler, as seen in the picture next to the Snarlroot. He doesn't do all that much but I felt it was still worth mentioning. After you clear the trash in your way to the far western end of the tomb you'll come across the second boss, The Beast of Vodal Kressh.
The Beast of Vodal Kressh
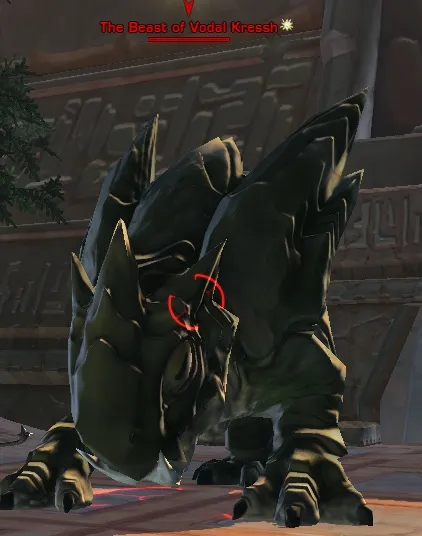
This boss is a tank, literally. He has a ton of HP and takes a good long while to kill. Besides his high amounts of HP, much like the first boss he has no real strategy. Also, much like the first boss he will summon adds throughout the fight, little snarlers which will constantly swarm your healer. Obviously you'll need to take these little buggers out before they do any real damage. After quite a few swarms of adds and many long minutes wacking down this guys HP, you'll finally take him down.
Grab his loot and proceed further west back into the underground tombs. The final objective will appear on your map once you enter this tomb. At the very northwestern end is the Prophet of Vodal, the final boss of Athiss. Before you worry about this boss though, you need to get to him! All along the path to the boss is guarded by champion con Sith. They won't be much of any difficulty for you group if you keep one solid rule in mind; Interrupt them. After you've cleared all the Sith trash in your way it will be time to fight the Prophet of Vodal, the final boss of Athiss.
Prophet of Vodal

This end boss has a ton of HP and a really unique strategy that is required to beat him. Now, just because he has a really unique strategy doesn't mean he is hard, let me get that straight right now. He is actually rather easy, as long as you use that small brain of yours. During the fight the prophet will Stealth and will spawn two or four fires in the front and back of the room. The longer the fight goes on and the lower HP he gets the more fire I've seen him spawn.
Once he spawns the few little flames you will need to just run around, that's right it is as simple as that, run around and avoid the scary fire. Rinse and repeat a few cycles of avoiding the fire while chipping away the bosses HP and finally you'll have yourself a victory. Loot up the boss and grab the Artifacts of Vodal Kressh behind where he stood to complete the Flashpoint Mission.