
Finala's Contempt - Act 2 Companion Side Quest
Location: Multiple
Closest Portal: N/A
Objective: Visit & destroy Morden Camps/Towers across all Acts with Finala in your party
Reward: Random Loot & Gold
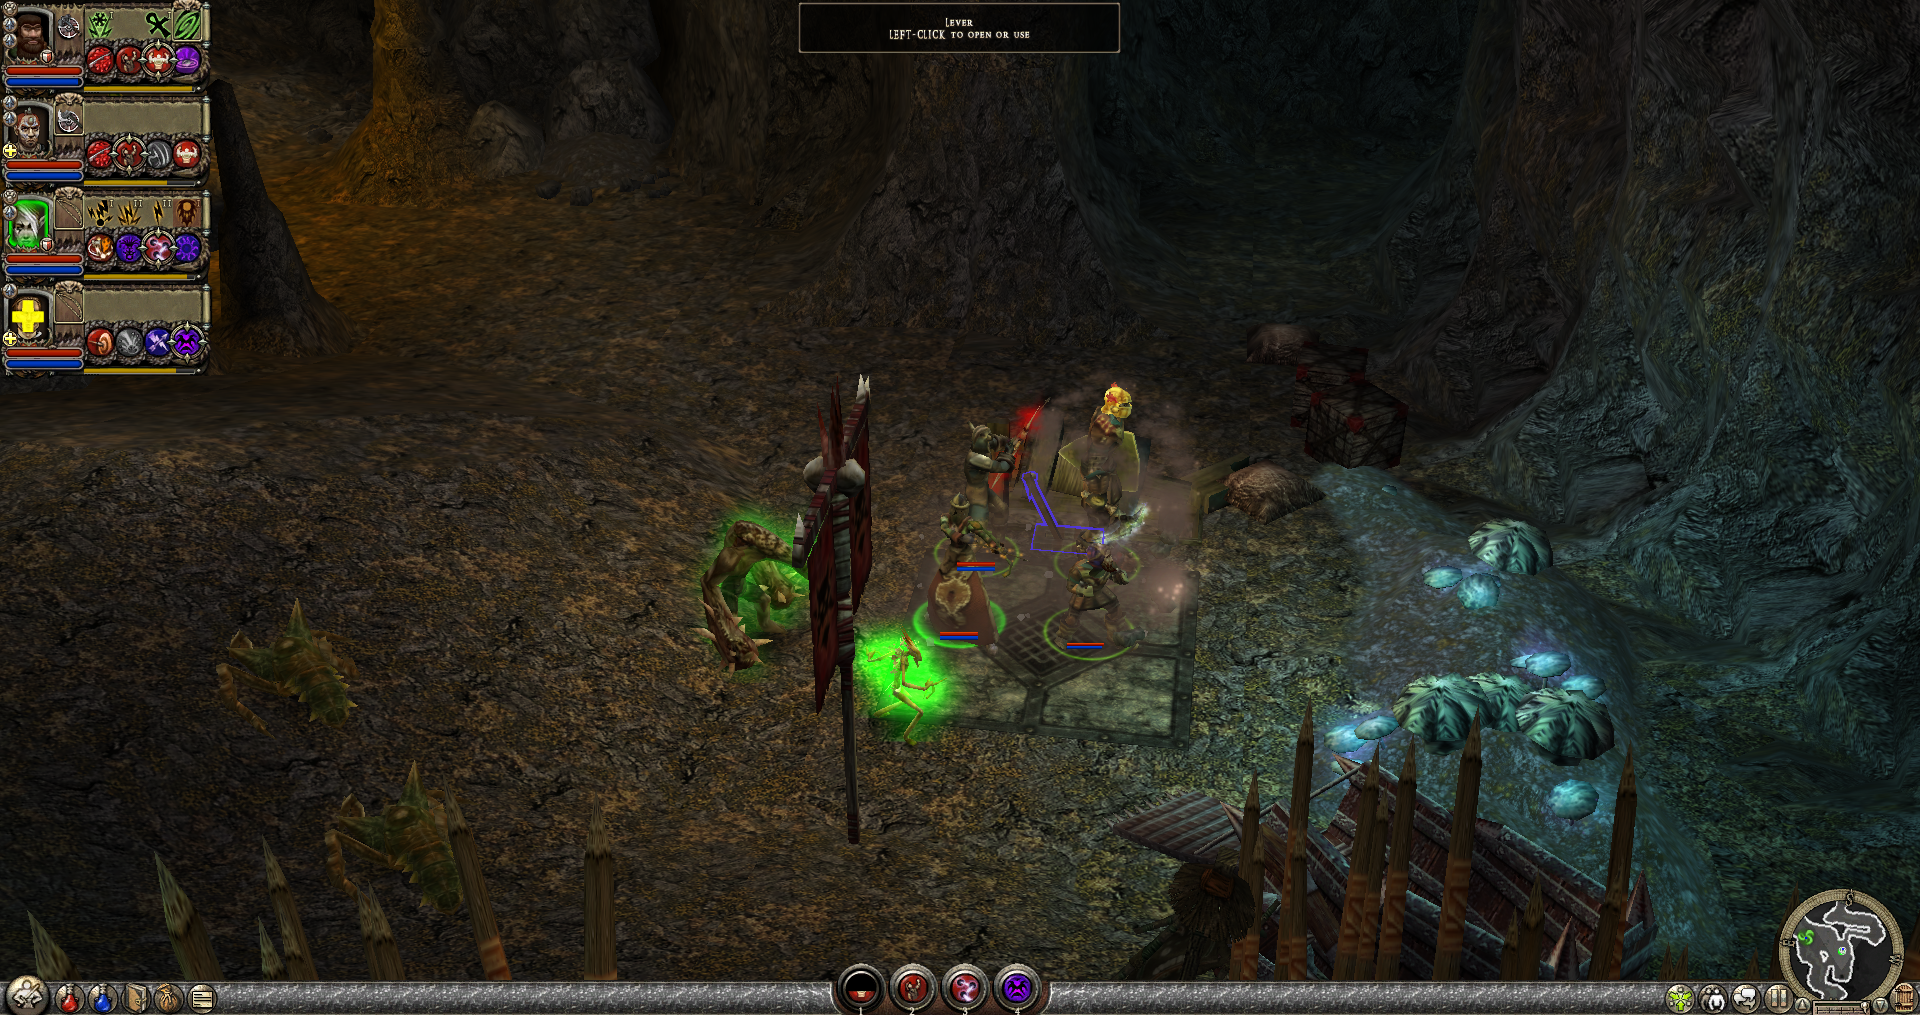
Finala's Contempt is a Side Quest which begins by having Finala in your party and using her to repair the broken elevator in the Kithraya Caverns (pictured above). To reach this elevator take the Kithraya Valley Teleporter and travel northwest, use my screenshot above for an idea of exactly where to look for it.
This quest is Finala's Companion quest; every party member gets their own quest in Dungeon Siege 2 that can only be started and completed with them in the party. You'll want to keep Finala with you for each step of this quest since you'll need her to open the Big Chests and operate the elevators throughout this quest.
Using the elevator in Kithraya Caverns will take you into the Hidden Morden Stronghold. Inside the Hidden Morden Stronghold there will be a Big Chest that only Finala can open as well, inside will be Morden Battle plans as well as a Morden Map of Greilyn Jungle. The Map of Greilyn Jungle should give you some clue to our next destination.
Below is a succinct list of all the locations we'll be visiting with Finala for this quest. If you'd like a more detailed list of what to do at each location as well as some screenshots for help finding these places check further down the page.
Location #1: Northern Greilyn Jungle - approach the wall north of the Teleporter to uncover a hidden passage (Finala must be with you)
Location #2: Southern Greilyn Jungle - west of the Teleporter go into Some Abandoned Ruins with Finala to uncover a hidden passage
Location #3: Darthrul - east of the Teleporter you'll see the silver star that leads to the Morden Intelligence Camp
Location #4: The Northern Desert of Kaderak (North) - North of the Teleporter, you can see the silver star on the map
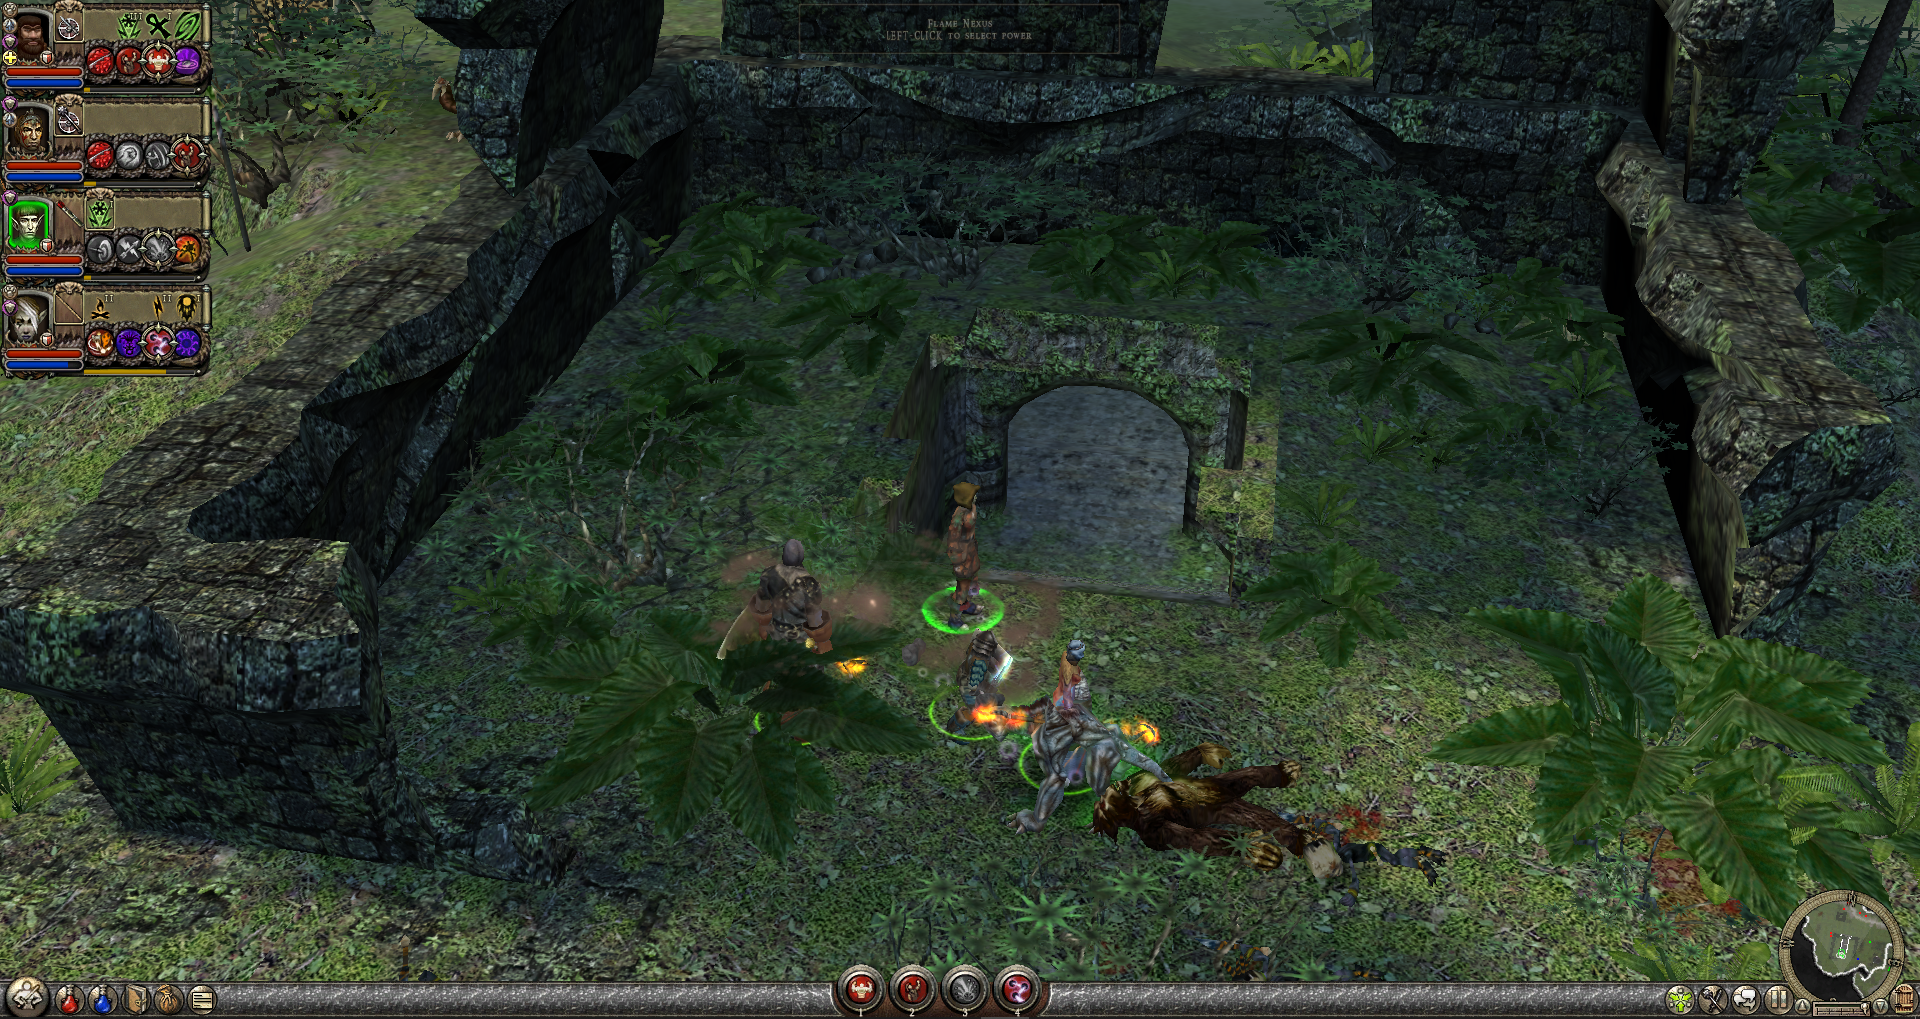
Entrance to Some Abandoned Ruins in Southern Greilyn Jungle.
In the Northern Greilyn Jungle you'll want to travel just a tad bit north of the Teleporter near the stone wall to have a scene with Finala where she uncovers a door. On the opposite side of this wall you'll find a total of 3 towers to burn down, all of which are pretty easy to find. To burn down these towers you'll want to do the same thing you did in Act 1 during The Morden Towers Story Quest. Smash the cage nearby and collect the piece of wood then light it on the fire and left click the tower.
The Morden Tower in Southern Greilyn Jungle can be reached by taking Finala into Some Abandoned Ruins which are west of the Southern Greilyn Jungle Teleporter (pictured above). She will uncover a hidden switch in here that will lead to the final Morden Tower in Greilyn Jungle.
You can technically do the four Morden Towers in Greilyn Jungle in any order, once all 4 are destroyed Finala will find a Map of the Morden City as well as a Morden Elevator Gear. Both of these items are used for the next step of this quest which takes place in Darthrul (Act 3).
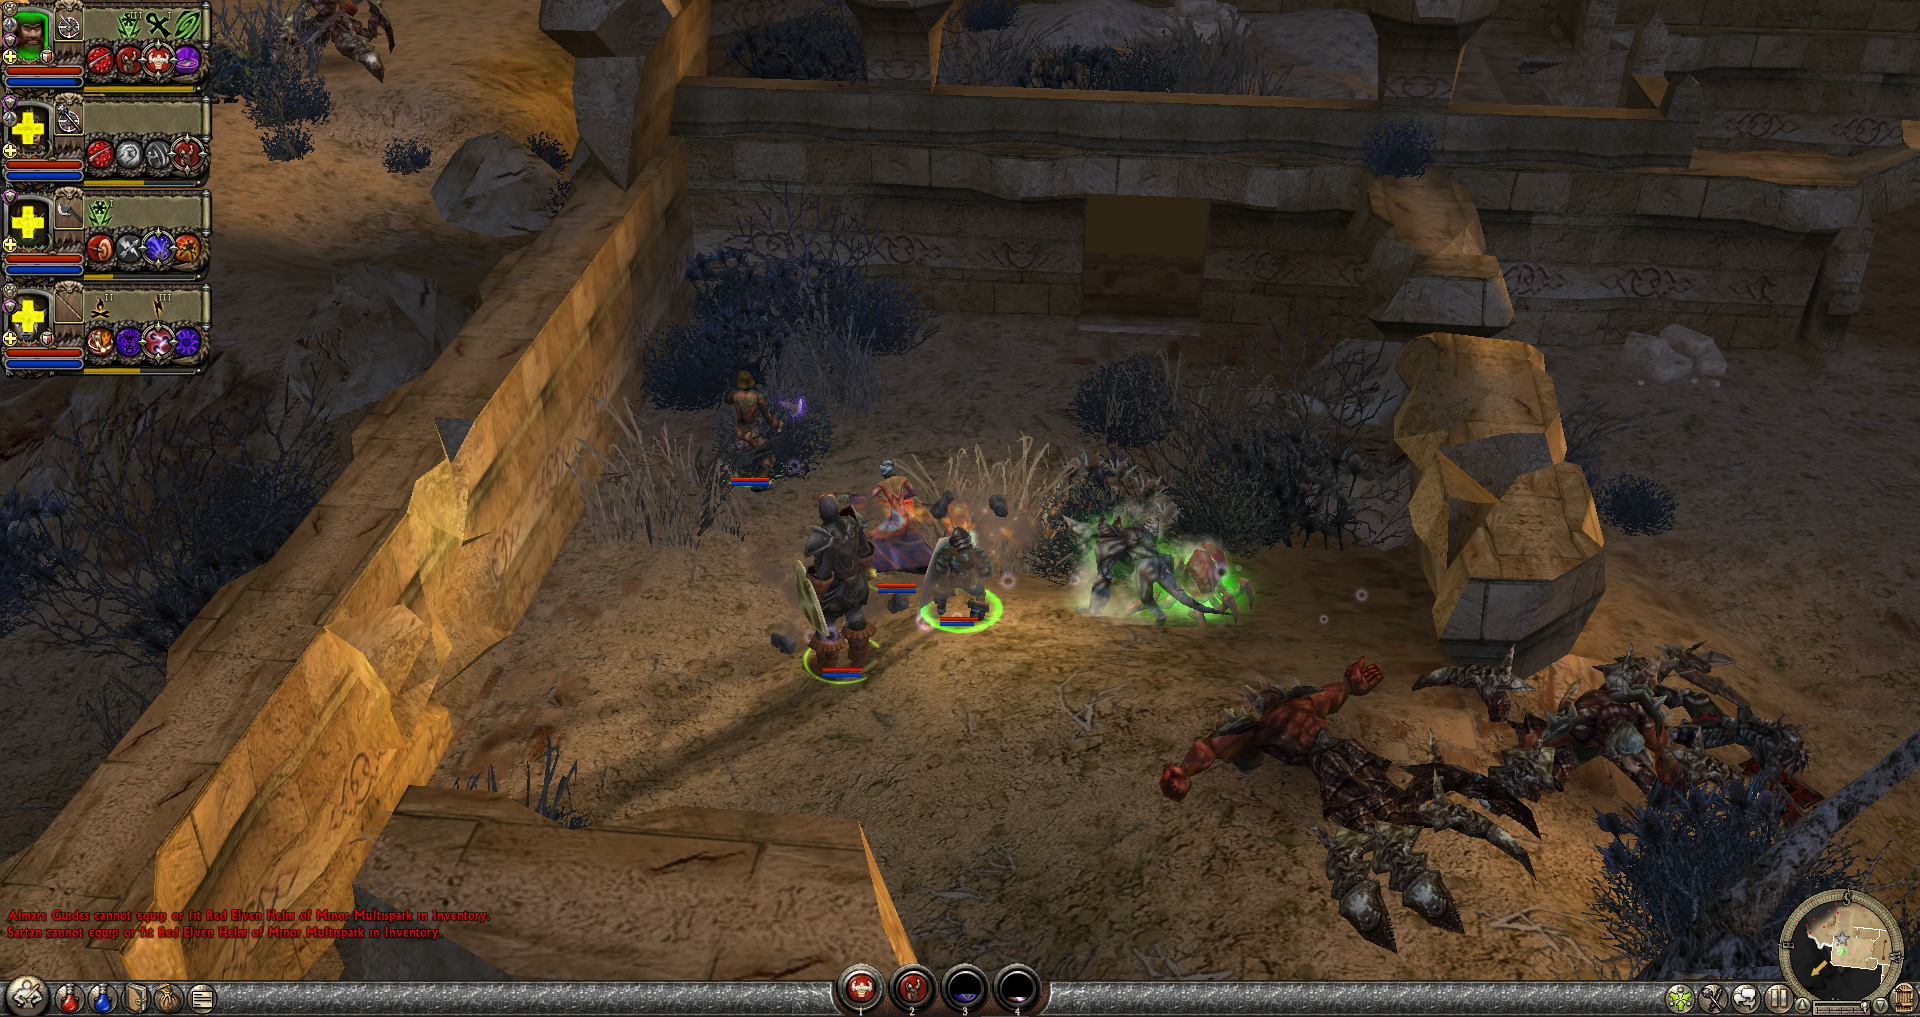
Secret passage to Durvla Hatchery in eastern Darthrul.
When you arrive in Darthrul via the City of Darthrul Teleporter you'll be able to see the silver star for this quest to the east. When you approach the area Finala will have some dialogue and she'll uncover a secret passage (pictured above) which will take you into the Durvla Hatchery. In here you'll find some Morden and Durvla enemies that you'll need to defeat as well as a Big Chest which only Finala can open.
Our final location is in the Northern Desert of Kaderak in an area which can be reached by traveling north of the Mines of Kaderak entrance. Finala will need to be in your party to activate the elevator that goes down into the Large Morden Intelligence Camp as well as to open the Big Chest in here. Opening the Big Chest will complete the quest.