
Stone Troll Crossing
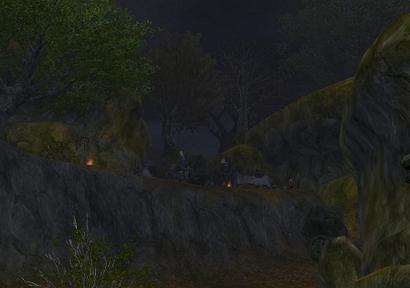

Stone Troll Crossing is the Chaos and Empire tier 2 scenario. This scenario type is King of the Hill, the objective is to capture the pacifier (Flag) in the center of the scenario up on the large hill. With that flag you have to take it to each of the 3 Control Points to Pacify them. The first team to reach 500 or the team with the highest points after 15 minutes wins.
Number of players: 12 v 12
Pacify One of the Control Points: 35 Points
Pacify All of the Control Points: 100 Points
Kill an Enemy: 5 Points
Duration: 15 Minutes
Levels: 8 - 21
Things To Keep In Mind
- Don't forget you can knock people off while fighting for control of the flag.
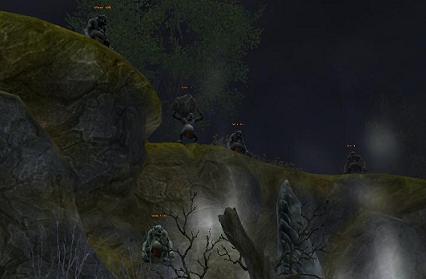
- With a little bit of navigation if you're ranged you can get up on top of the rocks in this scenario which is a great advantage against melee.
- If you have the flag, STAY WITH YOUR TEAM. That is the most important thing to keep in mind in this scenario. Communicate with your team as well, tell them what control point you're going to. Communication will win or lose this scenario for you and your team.
- If your enemy has the flag look for the beam of light that shoots up into the air that tells you where the carrier is. If you can't get to the carrier intercept him in between cap locations
- If your team has the flag, stay with the flag carrier and protect him at all costs. If he isn't telling your team where he is going then you tell the team where he is going.
Strategies
The best strategy in this scenario is to have a tank grab the pacifier and the whole Warband follow him from control point to control point. There are multiple different ways you can go about capping the 3 Control Points ranging from Risky to Safe.
Safe: Pacifying the control point nearest to your spawn point is generally the best way to go with a non organized team, its safe and if you need any help what so ever the team spawns right there.
Risky: Pacify the control point nearest to your enemies spawn point. This is extremely risky with little to no protection, and could also result in your team getting carried away and staying there blasting away at the enemy.
Balanced: Take the southern control point first then head to ether one of the other ones. If you're in a good pug, then this generally wouldn't be to bad of a strategy.
Tanks: As always you're the best choice for a flag runner for your team. You will want to be the first one up the rock in the middle and interrupt the enemies from taking the flag and try to take it yourself. If you and your team are not able to get the flag, then stop their flag carrier at all costs.
Melee DPS: If no tanks are grabbing the flag, you're the second choice. Especially if you're a Choppa or Slayer (You have a movement speed buff that isn't Flee.) If you don't get the flag, your job is to slow down the enemy flag carrier as much as possible.
Ranged DPS: Your will be slowing down the flag carrier and killing the enemies healers.
Healers: Heal the flag carrier, if no one is carrying the flag keep everyone alive.
Maximizing Renown Earned
The easiest way to Maximize your Renown in this scenario is *Drum roll* you guessed it, WIN! This is another one of those SC's that you earn crap Renown if you don't win. There are hardly any stalemates in this Scenario because it gives some of the best Renown and XP for this bracket, if you can do it very quickly.
Estimated XP Per (Loss): 3308xp
Estimated Renown Per (Loss): 202
Estimated XP Per (Win): 11666xp
Estimated Renown Per (Win): 751
Map of Stone Troll Crossing

Loot Table
Rank 25, 50, 75, 100, 125 Fragments, Curios, Gold Dust and Containers
Level 9-18 Greens
Obliterator Set Gear
Recruit's Medallion
Soldier's Medallion