
Hammer Station Flashpoint Guide
Hammer Station is a level 15 or so Flashpoint, it is the second Flashpoint players will be able to do in the game and is rather straight forward when it comes to Flashpoints. There aren't a lock of "trick" pulls as I like to call them or any overly complicated encounters. There are, however, lots of droids in here. The reason I bring this up is because if your only CC consists of a Jedi Shadow or whatever the Sith equivilant is, you're going to be in trouble since they can't Sap droids.
Either way, not having CC is a problem on your end, I'm just here to provide you with a guide of the place! Since Hammer Station is so easy there isn't much explanation that needs to go into a guide for the place. Below is a map of the very first area of Hammer Station, as you probably already guessed we will be working down towards the mission objective glowing at the bottom of the map.
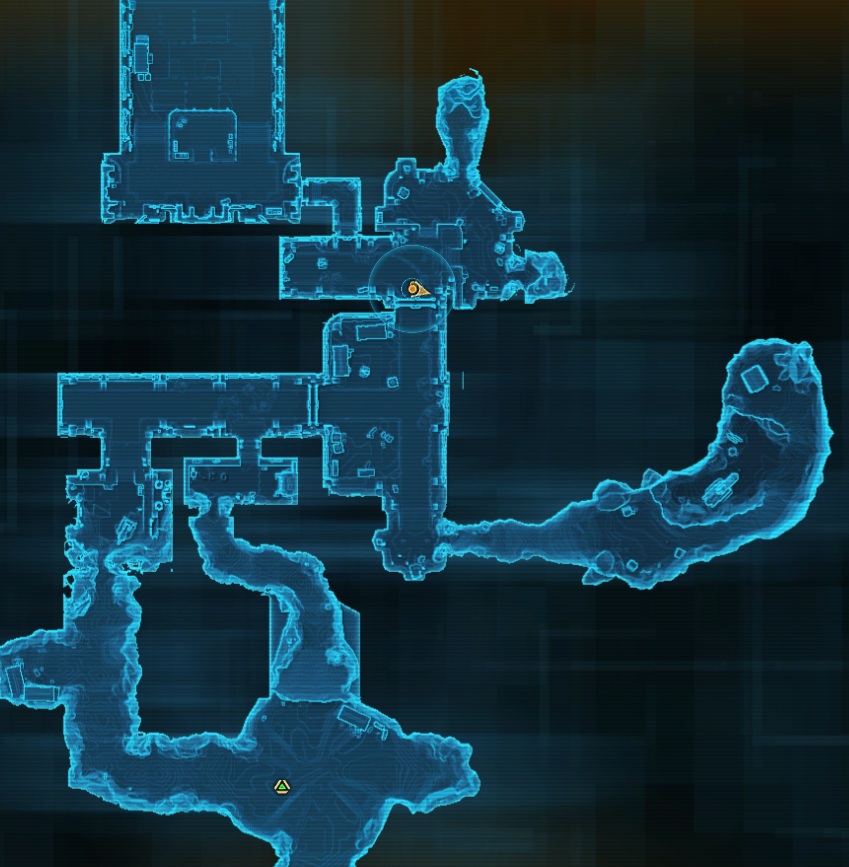
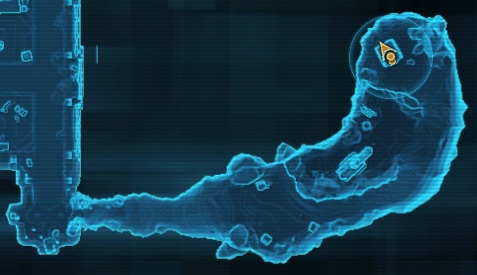
Before continuing all the way south to your Mission Objective know that you have two options when it comes to this part here, depending on if anyone in your group has Bioanalysis. In the southern end of the picture below you'll find a few barrels lined up which you can use Bioanalysis on. Doing so will give you an item in your inventory called Detoxifying Fiber. You'll get 8 of them, which is a perfect amount for all four of you, two times. Using one of these items will allow you to breath in he toxic tunnels of Hammer Station, which as you could have guessed one is right next to the canisters.
It's where I am standing way over there on the map, of course you'll need to use one of those Detoxifying Fibers to reach me though. Where I am on the map is a chest guarded by a few elite droids. When I opened the chest it contained a green and a blue item, to some this may not be worth the effort but other groups may want to go out of their way for an extra piece of loot.
After you either retrieve or ignore the extra blue you will want to work your way all the way south to the mission objective. Same deal as before. There aren't many pulls you have to worry about on your way to the boss, just take it slow and easy and use lots of CC incase anyone in your group is still trying to familiarize themselves with the game. The boss in the very big room to the south is your mission objective. His name is DN-314 Tunneler.
DN-314 Tunneler
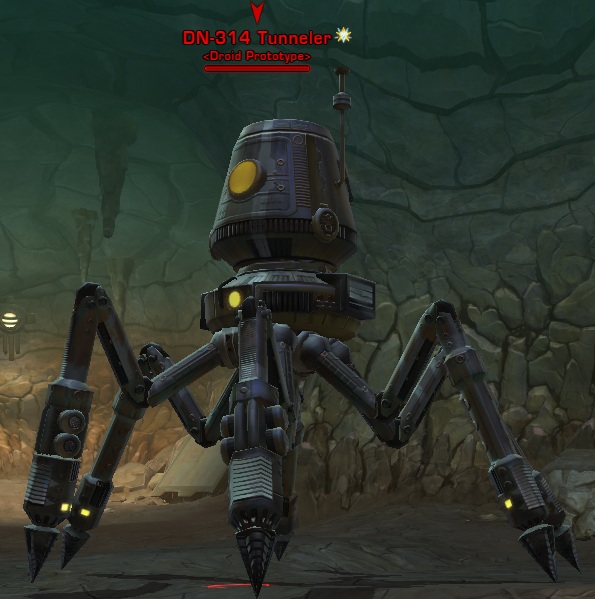
DN-314 Tunneler is an easy fight compared to some of the other bosses you could be fighting around these levels. Depite being a droid and looking like a tank, DN-314 didn't have a lot of HP in my opinion, only round 30k. He was also a simple tank and spank encounter with only one move that really stood out to me and that was to summon additional droids to himself that zip around the immediate area and self destruct. These droids are neutral so you can't kill them meaning your only defense against them is to avoid them.
Once the boss is dead you'll want to continue past where you found him, south and into the Security Wing. Below is a map of the Security Wing and the location of your next objective.
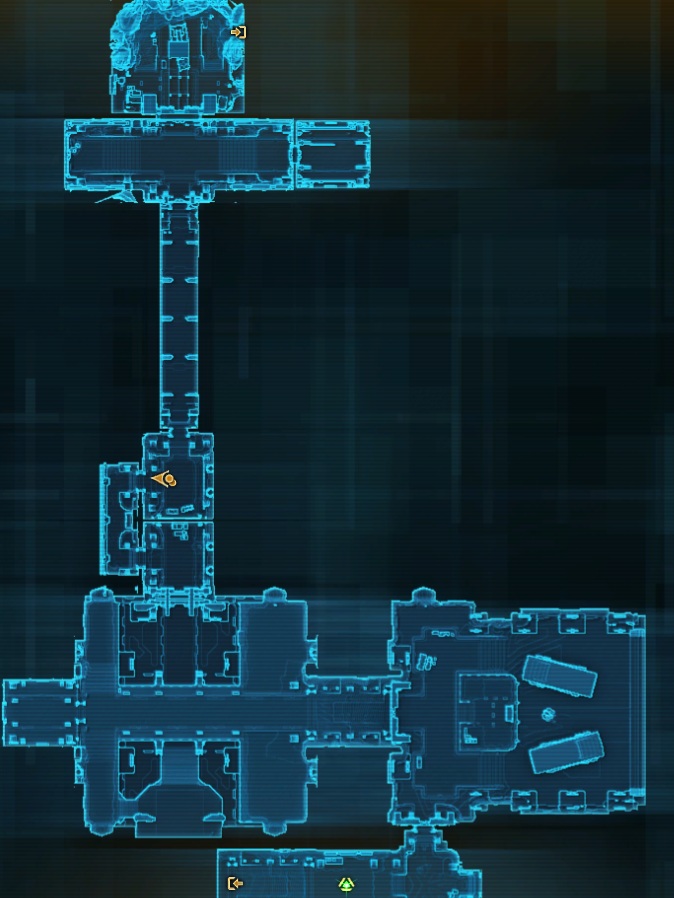
The path you need to follow to reach the next objective is rather straight forward, the only part that could be even remotly confusing is when you reach the big room at the bottom (the one on the left handside of the map). In order to get through this room you need to go up the stairs and around to get on a catwalk over head. Othen than that travel is simple, there is just lots of trash between you and your next objective. Once you reach the next objective it will update and set you up to kill the second boss of the instance and his cronies.
Vorgan the Volcano and Friends
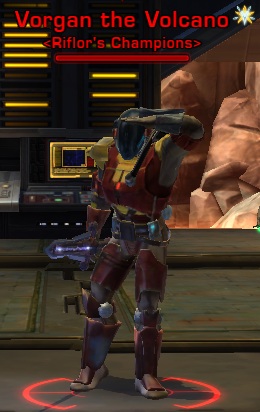
This is the most basic boss of them all in this instance, he is literally nothing more than a simple tank and spank. Of course he comes with two adds, the two elites on either side of him but both of them have 8k HP and are no match for you and your group! Take out his adds first and then eliminate him, extremely easy fight. After you kill him be sure to loot him (Duh!) and then use the Security Console behind him.
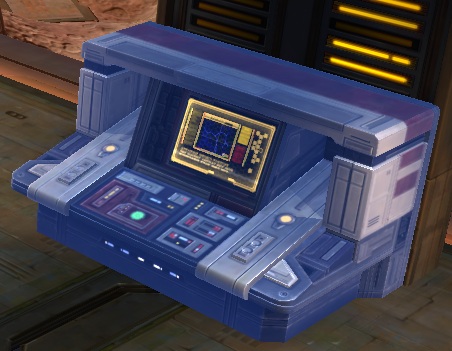
One thing you will start to get used to with these instances is that in each one there is some sort of console or item to trigger an option which rewards you with Lightside or Darkside points. I won't tell you which one to choose, that is entirely up to you for the entire course of this game. The only advice I will give is choose wisely! After you mess with the console you will want to continue down the path and and over to Section Zero. There is a lot of trash here but nothing you and your group can't handle.
This entire place is pretty straight forward except for one little thing that stands out, the blue hologram bridge. When you get close to it this bridge will light up and show you it's available, but first a word of warning... Every twenty or so seconds the bridge vanishes and a large boulder flies through this gap. You obviously don't want to be around when the bridge disappears or when the boulder rips through the gap, for this reason if you don't know the last time the boulder past, wait for it to pass again before starting across.
Shortly after this blue bridge you will reach your final objective area where your Flashpoint quest will update and you will be tasked with taking out the final boss, Battlelord Kreshan.
Battlelord Kreshan
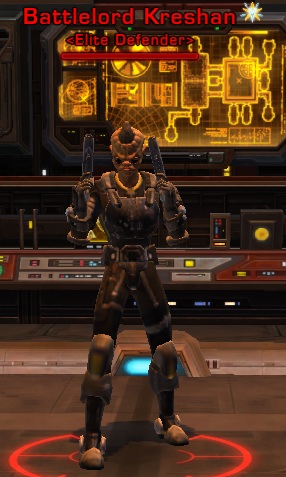
Another fairly lackluster boss strategy wise. All he did that seems important to mention throughout the entire fight was call for reinforcements which were so weak they were disposed of in seconds. There was a lot of AoE going on too but I didn't stand in it long enough to see how much damage it would do to me. Either way I can't picture this boss being difficult for any group. He didn't even have a lot of HP! After you take out Battlelord Kreshan use the Station Computer behind him to complete your Flashpoint quest. And that's all there is to Hammer Station!