Allusis - "Mandalorian Raiders"
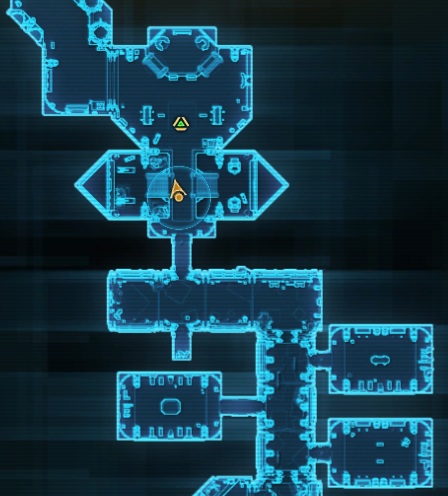
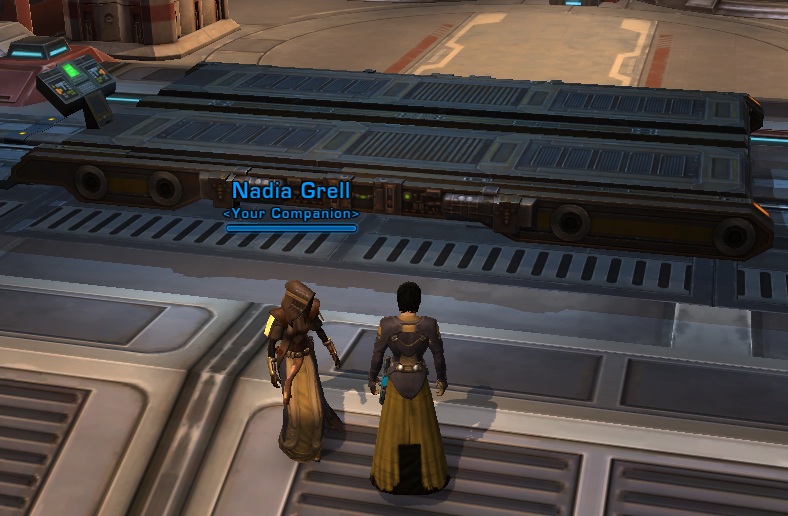
Allusis, more commonly known as "Mandalorian Raiders" is a level 25 Flashpoint. Once you arrive, upon moving forward in the main room a pack of mobs will run out at you from the western most elevator. They're all normal conning mobs, you can easily solo all three without any help from your group if you accidentally pull them. After you kill them you will want to go through the northern most door that opens up. Below is a picture of the first area of this instance.
Make sure to use CC in the very first room since all 5 mobs come at you. After you kill off the first pack be cautious of the patrol before engaging the second pack. You don't want to be fighting a gold con droid and have another come walk in out of no where! After the doors open up proceed into the next room, be sure to use CC on the mobs in here to pull because when you do pull 3 more mobs will run out of a nearby elevator. After you kill them it is more trash before coming to a hallway with three rooms branching off of it. Be careful, it looks like an easy pull in this hallway but a few more of the dog things jump out at you when you pull.
NOTE: These dog things can be looted using Bioanalysis. They carry all Grade 2 Materials.
There is nothing of value in any of the three rooms off to the sides of this hallway so just ignore them. Every pull is easy further up until you come out to the room with the very first green triangle mission update in it. Be cautious of the first pull in this room as the hounds from the pits on either side jump up and agro you when you pull the one on the walkway. After you do kill all of the hounds though, it is first boss time!
Braxx The Bloodhound
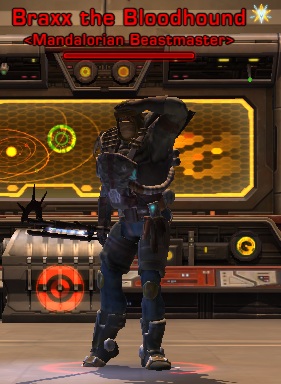
Braxx comes with two hound adds both with a little over 15k HP. I recommend CCing one of them, killing the other and then either keeping the first one CC'd or breaking the CC and killing it. Either way you want to get Braxx alone before you start focusing your DPS on him. Either than that he is a tank and spank boss pretty much, he has a few abilities but nothing that will make you shake in your boots. After you kill Braxx make sure to grab your loot from Braxx's Stash behind where he was standing.
Back to the instance now, after you kill Braxx the very next pull is another "trick" pull, showing you two weak mobs as all you'll be fighting.... We know this isn't true! Once you attack one of the mobs three hounds will hop out from behind the door and start wailing on your group. For that reason I recommend pulling with CC to eliminate at least one of the mobs you'll be fighting off the bat. After you get done that pull you'll be making your way to the next part of the instance, which is really short, the Technology Tram.
Above is a picture of the tram that runs along the rails straight up and down in this area. Hop on board and ride it to the northern most end before jumping off and continuing into the next area. After the tram is the Cargo Deck, which is a pretty short area too. The very first pull you come across in the Cargo Deck area (A gold con droid) is another "trick" pull, meaning once you agro him an elevator door will open and three more weak conning droids will run out at you. Shouldn't be a problem.
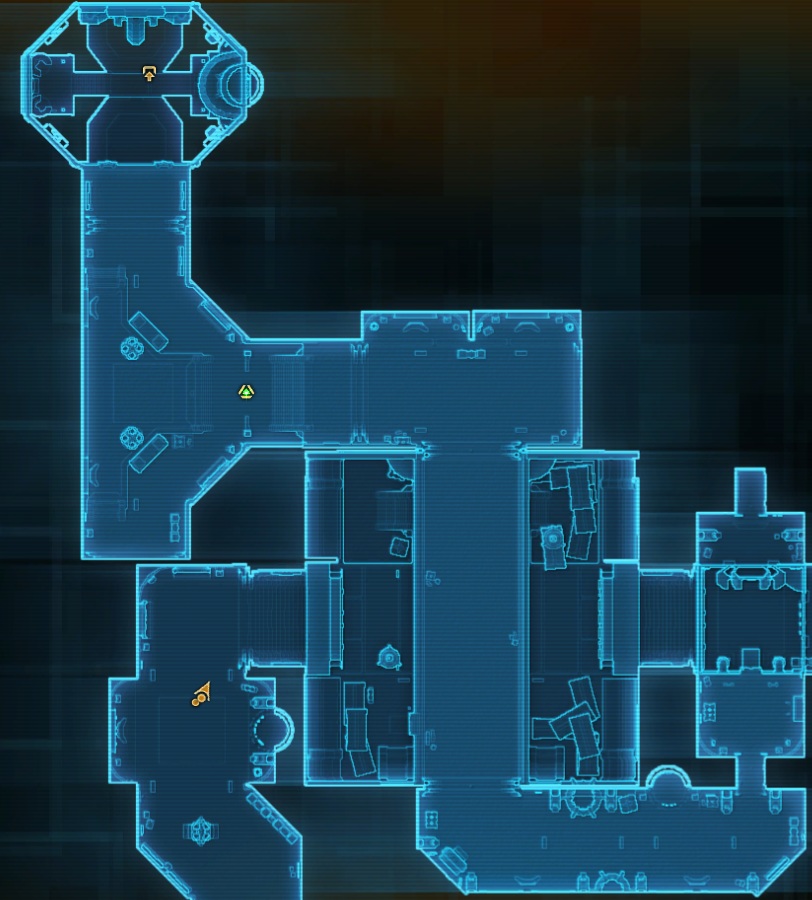
You'll want to proceed with caution as you work your way through the Cargo Deck, the next few pulls are big ones. If you get a bit lost when you enter the big room don't worry, that's what you got me for! You need to go east through the large room into a smaller room on the right hand side of the map (seen below). From this room you can take an elevator up and circle back around to reach the next green marker on the map which marks the next boss.
Be warned, the first hallway after the elevator, the very first gold droid you come across (location on the map is far bottom right) is another trick pull. After that droid the next trick pull(s) you will run into area on the bridge going over the main room we just came from. There are two gold droids that patrol this walkway and when you attack either one of them three weaker droids will fly over and land on the platform. Once you cross the bridge and make it into the next room you'll get a message saying "The Imperial Fleet has joined the battle!", I guess for Imperials it will say Republic but either way, the next boss is a group of the opposite faction.
Rotham, Kyrenic, Andan, Vincine (Imperials)
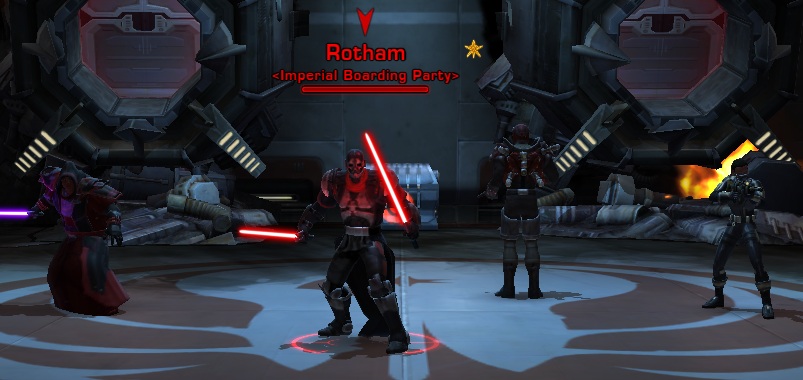
This fight doesn't just consist of a single mob, you will actually be fighting four different Imperials (or Republic guys). From what I've seen it doesn't really matter which one you kill first, I've always taken out the Inquisitor but it seems like the Bounty Hunter does the most damage. Either way the most important thing for you to know about this fight is that when one of them dies the other ones that are still alive become stronger. It's a pretty difficult fight so make sure everyone is ready before just charging in.
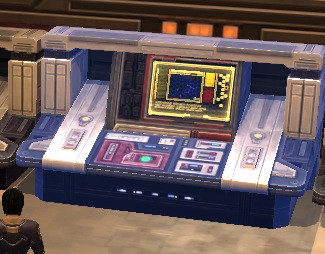
After you defeat the Imperials you will need to take two elevators down to the next objective which happens to be a computer console (Picture below). At this console you are able to make a Light or Darkside choice, either capture or kill the engineers that are in the room in front of you. Choose which ever you prefer.
After the computer console you have another trick pull which turns out to be a turret and three droids, nothing you need to really worry about. The next trick pull is a room or two down, once again nothing really to worry about. Just make your way east to reach the final boss, Mavrix Varad. Before charging in make sure you and your group are ready and know the strategy behind him. He isn't just a simple tank and spank boss.
Mavrix Varad

Mavrix Varad has a lot less HP than you would expect from an end boss but for a good reason. For this fight Mavrix jumps all around the room from platform to platform activating strong turrets to shoot at your group. It's extremely annoying to run after him while having turrets shoot at you and even more annoying if your group doesn't know how to do this fight. I always had my group take out the turrets first and worry about Mavrix second. I've also had a single DPS stay on Mavrix (pref one with a few healing abilities since he will always be out of range) while the rest of the group and the healer worried about the turrets.
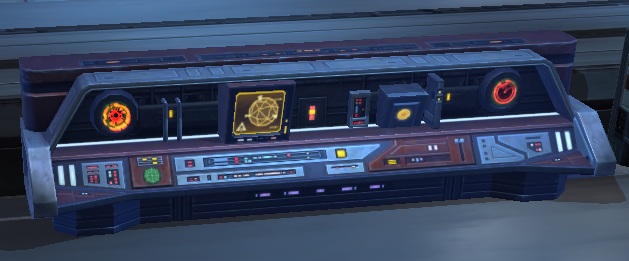
You can also stick the tank on the boss if you'd like as he is extremely durable and can take extra fire from anywhere for awhile before needing heals. Whatever your strategy is, this boss is a pretty weak end boss and shouldn't be too hard if you have a decent group. Most of the strain will be put on the healer for this fight since almost everyone will be taking damage. After the boss is dead make sure to loot him and then activate the computer terminal in the same room to finish the instance. A picture of this terminal is below.